Why Custom Millwork Is the Secret to Giving a New Build Historic Character
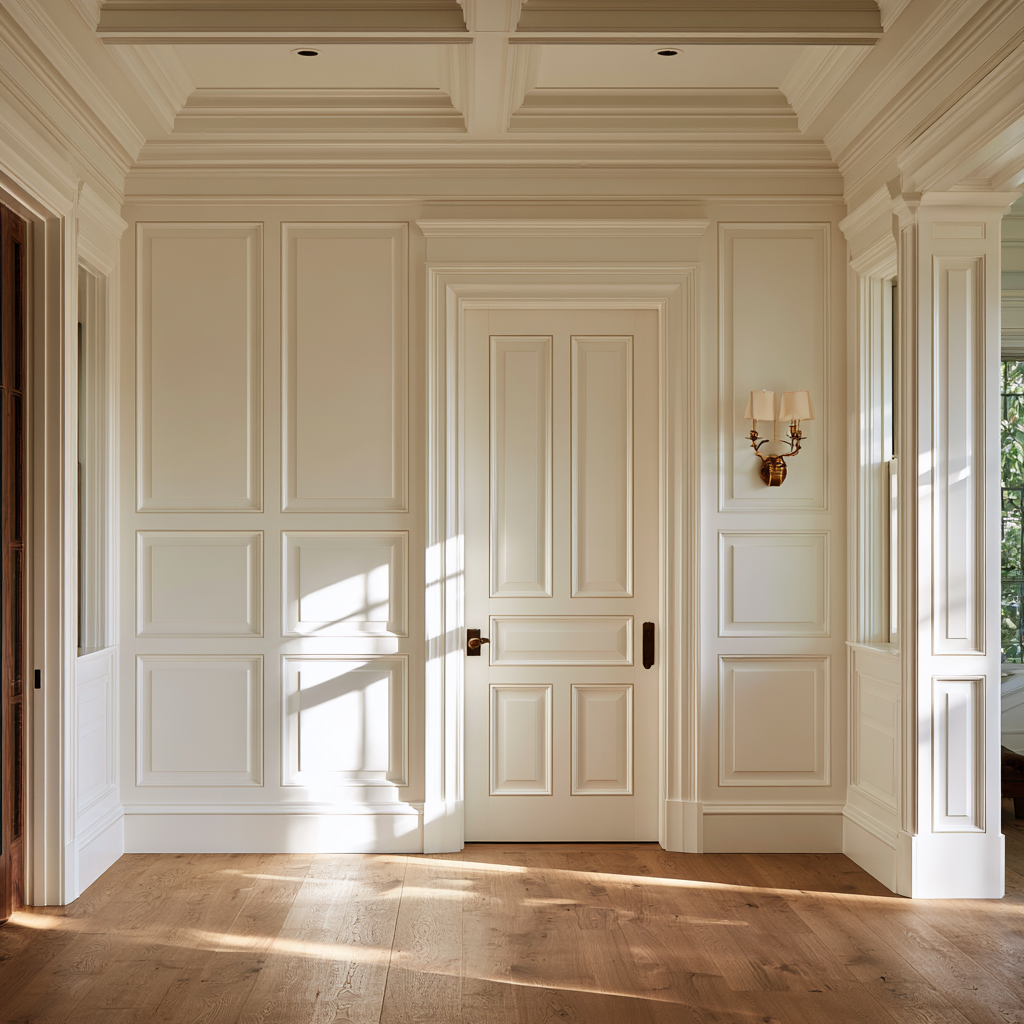
Custom millwork gives your new build historic character because you’re copying the era’s proportions, shadow lines, and trim hierarchy, not just picking “traditional” finishes. You set roof-to-room cues with tall baseboards, deep backbanded casings, and crowns with real spring angle and crisp fillets. You align head heights, keep reveals consistent, and use honest joinery and period-true species like painted poplar or quartersawn oak. Keep going, and you’ll see the highest-impact details to start with.
Historic Character Cues to Copy in New Builds
Where do new builds most often lose that “always been here” feeling? You skip the small cues that historic houses repeat relentlessly: proportion, rhythm, and shadow lines. Start by reading your region’s historic vernacular—roof pitch, window spacing, porch depth, and the trim hierarchy that frames openings. Keep casings proud, with crisp backbands or a simple stepped profile, and align head heights so rooms feel composed. Use baseboards that visually anchor the wall, not thin strips that disappear. Let door panels match the era’s geometry, and specify consistent reveals so every joint looks intentional. For innovation, prototype profiles digitally, then mill with tight tolerances and hand-finished edges. Make budget considerations early: spend on sightlines, simplify in closets.
High-Impact Custom Millwork Upgrades to Start With
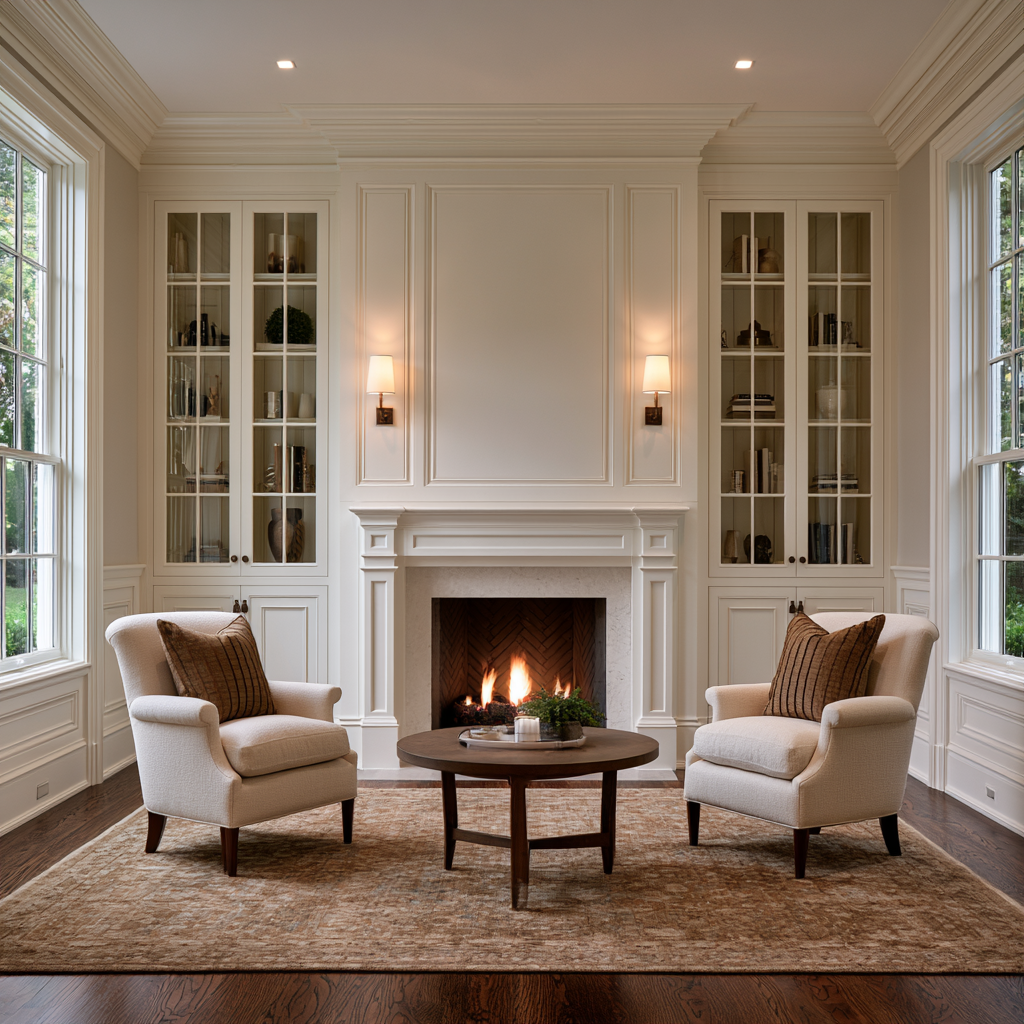
How do you get the biggest “old-house” payoff from custom millwork without touching the floor plan? Start where your eye lands: the entry and main hall. Install a paneled wainscot with a proper cap rail, then add a built-in bench or narrow console with inset doors, pegged shelves, and period-true reveals. Upgrade openings with cased portals: deep jamb extensions, backbanded casings, and plinth blocks that read like hand-set carpentry. Give windows weight using interior shutters or paneled window seats that hide modern HVAC chases. Specify honest joinery—mortise-and-tenon, stopped dados, and hand-planed edges—so future historic maintenance stays straightforward. Pair that with smart material sourcing: rift-sawn oak, poplar, and reclaimed pine matched to local species and climate.
Use Custom Millwork Crown and Tall Baseboards
You’ll get instant period authority when you specify crown profiles with real depth—proper spring angle, crisp fillets, and shadow lines that read like early plaster work. Scale the room with tall baseboards that match historic proportions, then cap them cleanly with a molded shoe or base cap for a finished edge. You’ll keep the craftsmanship believable by planning seamless trim transitions at doors, windows, and corners, so every profile returns, dies, and aligns without awkward breaks.
Crown Profiles With Depth
Why settle for a thin strip of crown when historic rooms read their character in shadow and reveal? You get that effect by specifying crown profiles with real projection, then tuning the build-up so light grazes the curves and throws crisp, layered lines. Treat it like architecture, not trim: map sightlines, ceiling height, and casing thickness, then mill to match.
- Stack a bed molding and fascia, then cap with a cyma for depth emphasis without bulk.
- Use a backer to kick the profile off the wall, creating a shadow gap that feels original.
- Specify sharper arrises and consistent spring angles so every corner reads clean, even under LEDs.
You’ll make new drywall feel like it belongs to an older room.
Tall Baseboards For Scale
Deep crown sets the room’s top edge, but tall baseboards carry that same sense of proportion down to the floor and keep the walls from feeling thin or newly dressed. In period houses, base height was calibrated to ceiling height, window head, and plaster thickness, so you should treat it as architecture, not décor.
Start with scale considerations: an 8-foot room can handle 6–7 inches; 9–10 feet often wants 8–10 inches, especially with substantial casing. Add a built-up cap or subtle backband to echo your crown’s shadow lines, and you’ll get that “old-house” weight without faux distressing. Specify crisp arrises, a slight bevel at the top edge, and durable species like poplar or maple. Mill returns and plinth blocks cleanly for intentional corners.
Seamless Trim Transitions
Where trim profiles meet—at outside corners, stair runs, soffits, and door heads—small inconsistencies can make even the best crown and tall baseboards read as “new work.” Treat transitions like joinery: carry the same projection and reveal logic from crown to casing and from base to plinth, then resolve the change with purpose rather than caulk. You’ll get seamless trim when you pre-plan the handoffs, like 1910s shops did, but with today’s CNC-verified repeatability. Focus on transition details that control shadow lines and avoid “mystery returns.”
- Build corner blocks or mitered returns that keep the crown’s spring angle consistent through jogs and soffits.
- Use plinth blocks to step tall baseboards into casings without pinching the reveal.
- Align backbands so their quirk lines register at every head and stair rise.
Add Paneled Walls With Custom Millwork Details
How quickly a room’s period character snaps into focus often comes down to the wall plane, and paneled walls let you control that read with intention. You can set the era by choosing profiles from specific millwork genres—Georgian raised panels, Shaker flats, Arts-and-Crafts stiles—and scaling them to your ceiling height.
Lay out a rigorous grid: consistent reveal lines, centered panels on openings, and plumb stiles that align with casing. Specify true rails and stiles, not embossed sheets, and use shadow gaps or beaded edges to tune depth under raking light. You’ll get crisp proportion without faux distressing. Consider integrating modern performance subtly: service chases behind wainscot, concealed access panels, and moisture-tolerant substrates in baths, then finish with limewash or satin enamel for period-correct sheen.
Add Built-In Bookcases and Window Seats
You can anchor a room’s historic character with period-style built-in bookcases that read like original millwork, from face-frame proportions to stepped crown, plinth blocks, and a proper base molding return. Set them beside a window seat nook, and you’ll capture that early-20th-century instinct for snug, purposeful alcoves with paneled fronts and tight, scribed trim. If you match species, profiles, and joinery to the house, you’ll get storage and comfort that look like they’ve always belonged.
Period-Style Built-In Bookcases
Ever notice how a room’s history feels sharper when the woodwork has purpose? Period-style built-ins give your new build that lived-in intelligence without faking age. You anchor the wall with face-frame proportions borrowed from Arts & Crafts and Colonial libraries: tight reveals, square stiles, and a base that reads like furniture, not cabinetry.
- Start with a plinth base and stepped crown so the casework lands like architecture.
- Use inset doors or divided-light uppers, then match rail widths to your casing profiles.
- Add adjustable shelves on hidden pins, plus integrated LED washes for a modern, gallery-grade glow.
Specify quartersawn oak, maple, or painted poplar, and keep grain continuous across panels for authenticity.
Cozy Window Seat Nooks
Built-in bookcases give the wall its backbone; a window seat nook finishes the room by putting that millwork to work at human scale. You’ll get instant “old house” credibility when you align casing profiles, plinth blocks, and baseboard returns so the seat reads like it was always there, not tucked in later.
Design your cozy window seats with a traditionally tall apron and a slightly pitched lid for comfort, then upgrade the performance with hidden storage on soft-close hinges. Match face-frame reveals to your bookcase stiles, and run the crown through without breaks for a continuous cornice line. Use quarter-sawn oak, paint-grade poplar, or rift white oak panels for stable joinery, and add integrated LED reading lights behind a discreet valance.
Pick Custom Millwork Profiles by Architectural Era
How do you choose a millwork profile that reads as “original” instead of merely old-looking? You match the building’s bones to a specific era, then let profiles, proportions, and joinery do the storytelling. Start by studying local precedents and measured drawings, not trend boards, and align trim widths to ceiling height and window casing depth. Use era palettes to guide sheen and color temperature, then elevate it with modern durability. Precision matters: crisp quirk lines, eased edges, and consistent reveals signal craft, not cosplay. Keep material sourcing honest—quarter-sawn oak for Arts & Crafts, painted poplar for Colonial Revival, tight-grain fir for early modern.
- Georgian: restrained ovolos, tall baseboards
- Victorian: layered casings, backbands, plinths
- Midcentury: flat stock, shadow gaps, minimal crowns
When to Plan Custom Millwork With Your Builder
After you’ve pinned down an era-true profile, bring your builder into the millwork plan early enough that the house framing, window and door orders, and drywall thickness won’t quietly rewrite your proportions. Lock casing widths, backband returns, and stool projections before rough openings get finalized, or you’ll lose the shadow lines that make a Greek Revival or Colonial trim read correctly.
On your planning timeline, schedule a coordination meeting at schematic design, then again before structural drawings go out. Ask for blocking at wainscot heights, pocket-door head clearance for tall baseboards, and HVAC runs that don’t steal crown depth. Tie approvals to budgeting milestones: shop drawings, sample runs, then production. Early alignment lets you prototype profiles with CNC accuracy while keeping hand-finished edges that feel period-authentic.
Frequently Asked Questions
How Much Does Custom Millwork Typically Add to a New Build’s Budget?
Custom millwork typically adds about 3–10% to your new build’s budget, though showpiece packages can reach 15% if you specify extensive paneling, built-ins, and period-accurate trim. You’ll weigh cost vs value by targeting the rooms that read first—entry, stair, and main living spaces. To reconcile modern vs historic, you can use CNC-cut profiles finished by hand, traditional joinery, and species-matched stains for authenticity.
What’s the Best Wood Species for Historically Accurate Millwork Durability?
You can’t go wrong with white oak for historically accurate, durable millwork. Oak durability matches period floors, stair parts, and wainscoting, and its closed pores handle wear and moisture better than many species. For painted trim and fine profiles, you’ll want hard maple; maple stability holds crisp edges, resists denting, and machines cleanly for tight joinery. Specify quarter-sawn stock, seal end grain, and you’ll get performance plus authenticity.
Can Custom Millwork Be Added After Move-In Without Major Demolition?
Yes—you can add custom millwork after move-in without major demolition if you plan like a finish carpenter. You’ll scribe new casings, baseboards, and crown to existing drywall, then fasten through studs with minimal patching. You can upgrade doors with applied panels, add coffered beams, or build pilasters over framing. Use period profiles, correct reveals, and paint-grade or stained species to match historic precedents.
How Do I Find a Millworker Experienced in Historic-Style Profiles?
Follow the breadcrumbs of old cornices: you’ll find a millworker by seeking shops that cut knives from period catalogs and can match surviving samples. Start by finding sources through preservation societies, architectural salvage yards, and local AIA chapters. Ask about apprenticeship pathways—who trained them, under which master, and on what tooling. Review mock-ups, profile drawings, and species/stain schedules, and tour a current install for crisp arrises.
What Maintenance Do Painted Versus Stained Millwork Finishes Require?
Painted millwork needs more frequent touch-ups: you’ll wash annually, spot-prime chips, and plan a full repaint on your maintenance schedules every 5–10 years, depending on light and humidity—classic practice for crisp profiles. Stained millwork asks gentler care: dust and clean with pH-neutral soap, then refresh with a maintenance coat of varnish or oil every 2–7 years. You’ll boost finish longevity with UV-blocking topcoats and breathable primers.
Conclusion
When you choose custom millwork, you’re not just decorating—you’re laying down a house’s “accent.” Crown reads like a finished cornice, tall baseboards ground the rooms like stone plinths, and paneling casts quiet shadows that feel earned. Built-ins and window seats turn blank drywall into lived-in ritual. Match profiles to an era, and the details stop pretending. Plan early with your builder, and you’ll frame the new shell with an old soul.