Ripping Down to the Studs: What Happens During a Total House Remodel?
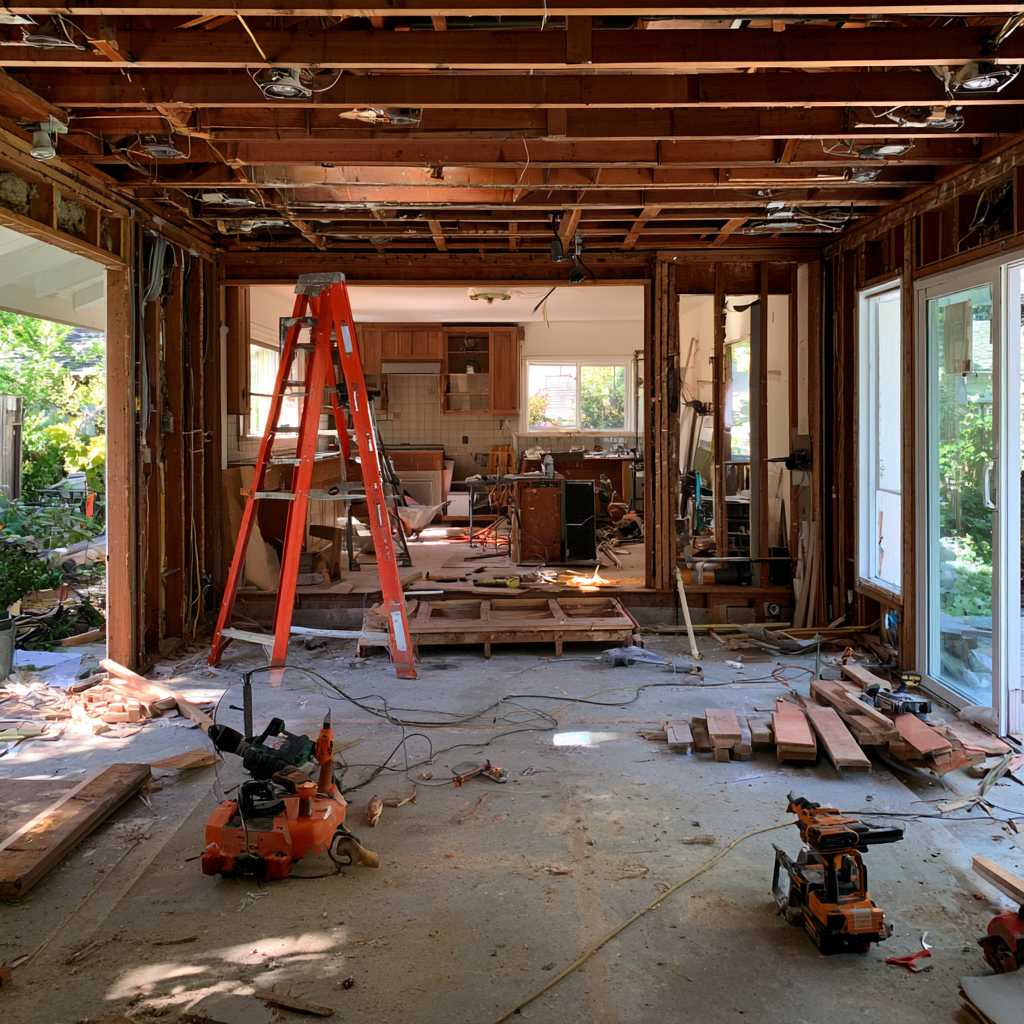
When you rip a house down to the studs during a remodel, you remove finishes to expose structural framing so you can fix hidden defects and rebuild systems to current code. You’ll demo drywall/plaster, trim, flooring to subfloor, kitchens and baths, and disconnect and cap MEP services per permit. With bays open, you’ll verify load paths, moisture damage, air/vapor control, and fireblocking. Then you run rough-ins, pressure-test, schedule inspections, and close up with finishes, commissioning, and a punch list—next up is the step-by-step sequence.
When a Down-to-the-Studs Remodel Makes Sense?
When does a down-to-the-studs remodel make sense? You choose it when legacy systems block performance upgrades and code compliance. If inspections reveal widespread knob-and-tube, undersized panels, failing DWV lines, or unreinforced framing in a seismic zone, partial fixes won’t pass or won’t pencil. You also commit when you’re reprogramming the plan—moving stairs, stacking wet walls, or adding ERV, heat-pump HVAC, and a continuous air barrier—because integration demands full access for sequencing and testing. You’ll validate feasibility with permit set drawings, structural calculations, and an energy model, then map staging considerations to keep egress, fire separation, and temporary utilities safe. Finally, you lock a realistic build back timeline around long-lead components, inspections, and commissioning.
What Gets Torn Out in a Studs Remodel?
A true down-to-the-studs remodel strips the house to structural framing by removing interior and exterior finish layers so you can expose every concealed cavity for inspection, repair, and rework to current code. You’ll demo drywall and plaster, ceilings, baseboards, casing, and all window trim, then pull flooring down to the subfloor. You’ll remove kitchen and bath cabinets, countertops, tile, tubs, and shower surrounds, plus nonstructural partitions as engineered. You’ll disconnect and extract fixtures, registers, and devices, then cap services per permit and safety protocol. Outside, you’ll remove cladding, sheathing as required, soffits, and roofing layers to the deck when re-roofing is integrated. You’ll stage doors install and new fenestration sequencing after drying-in.
What You’ll Uncover Behind the Drywall?
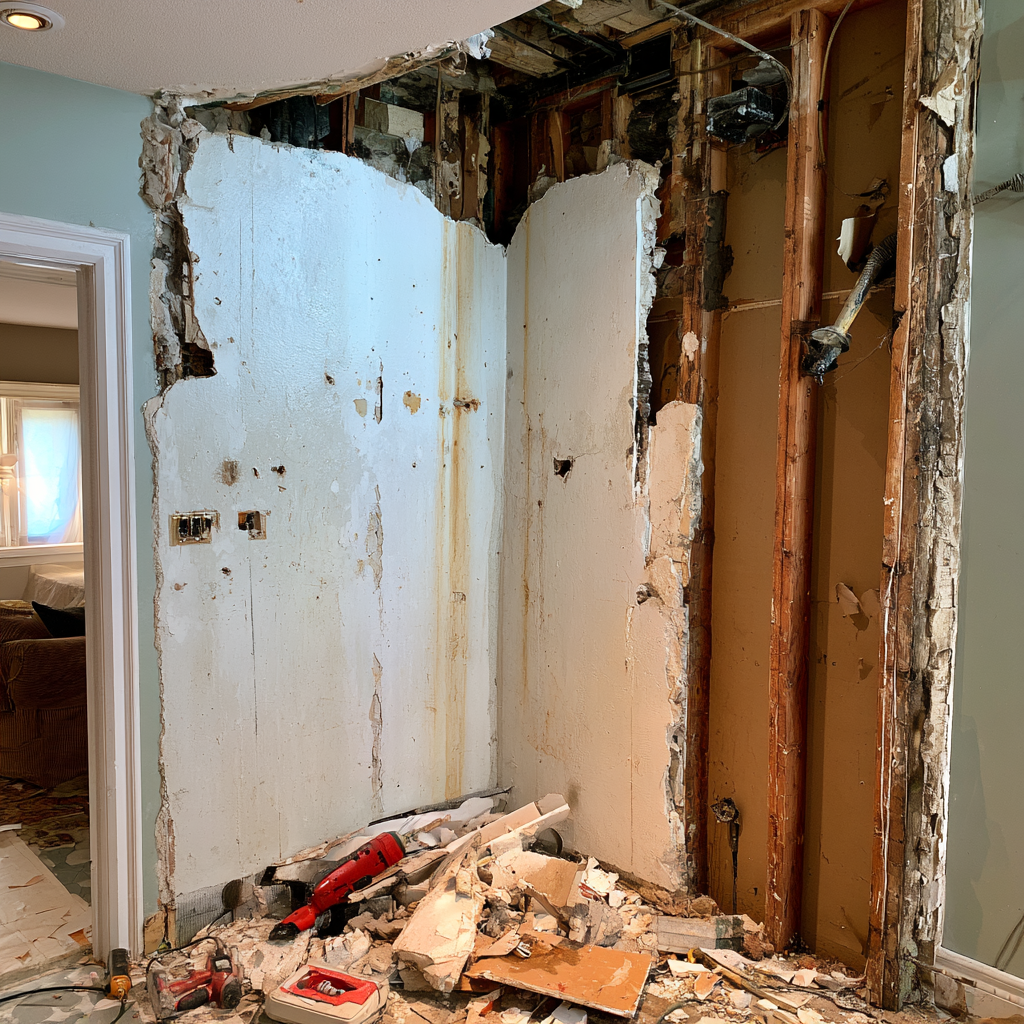
Once the finishes come off and you’ve got open stud bays, you’ll see the real condition of the house—not the cosmetic layer. You’ll verify plumb, level, and load paths, and you’ll flag any unseen framing alterations like notched studs, cut plates, or undersized headers that violate IRC limits. You’ll map moisture migration by checking staining, rot, mold, and corrosion at penetrations, rim joists, and window rough openings, then confirm vapor retarder placement and air-sealing gaps. You’ll trace fireblocking and draftstopping continuity, confirm egress and stair geometry isn’t compromised by prior work, and document every deviation. With photos, measurements, and tags, you’ll create a punch list that drives structural corrections and envelope upgrades before walls close.
Rough-Ins and Inspections in a Total Remodel?
How do rough-ins and inspections keep your total remodel on schedule and inside the codebook? You sequence rough-ins before close-up so every system stays accessible, testable, and verifiable. Electricians set boxes, homeruns, and panel paths; plumbers run supply, waste, and vent; HVAC installs trunks, returns, and combustion-air routes. You lock elevations, nail plates, fireblocking, and draftstopping where the plans and local amendments require them. Then you validate performance: pressure-test plumbing, megger critical circuits if specified, and document duct leakage targets.
Next, you schedule inspections in the right order—framing, MEP rough, and any energy or fire checks—so corrections happen while studs are open, not after rework disrupts the timeline.
Finishes and Punch List in a Total House Remodel
Where does a total remodel finally turn from inspected rough work into a livable, warrantable house? It happens when you lock your finishes selection, then install to manufacturer specs, tolerances, and local code. You verify substrates, moisture levels, and fastening schedules before you hide anything behind trim. You’ll track submittals, batch numbers, and cure times like a QA log, so warranties stay intact, and performance stays predictable. Then you run a disciplined punch list process that closes gaps, not just cosmetics.
- Set floors, cabinets, tile, and paint with documented prep, sequencing, and protection.
- Commission systems: HVAC airflow, GFCI/AFCI trips, lighting controls, and water temp limits.
- Walk, tag, and recheck: align reveals, seal penetrations, adjust doors, verify as-builts and manuals.
Frequently Asked Questions
Can I Live in My Home During a Full Studs Remodel?
You can, but you usually shouldn’t unless your contractor phases work and maintains safe conditions. You’ll need living space logistics: a sealed “clean zone,” temporary kitchen/bath, and clear egress routes. Require dust containment with negative air, HEPA filtration, and zipper walls to meet IAQ expectations. Confirm permits, inspections, and code-compliant temporary power, smoke/CO alarms, and plumbing shutoffs. If structural, asbestos, or lead risks exist, relocate.
How Should I Store and Protect Furniture and Belongings During Demolition?
Start before the first swing: you’ll store and protect belongings by clearing rooms, sealing them, and controlling air. Schedule moving furniture to an offsite unit; use labeled, photo-inventoried crates as storage solutions. For dust mitigation, install 6-mil poly barriers, zipper doors, and HEPA negative air per manufacturer specs. Enforce debris containment with covered chutes, floor protection, and daily sweep/vac logs. You’ll thank yourself later.
What Kind of Insurance Coverage Do I Need During the Renovation?
You’ll need insurance coverage during renovation that stacks: builder’s risk for in-progress materials, a homeowners endorsement for vacancy/partial occupancy, and increased personal liability. Require your GC to carry commercial general liability, workers’ comp, and pollution coverage; verify limits via COI and additional-insured status for contractor liability considerations. Add umbrella coverage if exposures rise. Document change orders, secure permits, and confirm your lender’s insurance requirements before mobilization.
How Do I Choose the Right Contractor for a Total House Remodel?
Start by prequalifying: nearly 1 in 5 homeowners report renovation disputes, so you’ll reduce risk with structure. For Choosing a contractor, verify licensing, bond, and insurance, then demand a code-aware scope, permit plan, and schedule with critical path milestones. Compare itemized bids, not totals, and require documented change-order controls. Check references and pull past permits. Red flags: vague allowances, no written warranty, cash-only requests, and reluctance to coordinate inspections.
What Financing Options Are Available for a Down-To-The-Studs Renovation?
You can fund a down-to-the-studs renovation using renovation loan options like FHA 203(k), Fannie Mae HomeStyle, CHOICERenovation, or a construction-to-perm loan; you can also use a HELOC, cash-out refi, or unsecured credit for small scopes. You’ll document code-compliant plans, specs, and contractor bids, then draw funds via inspections. Ignore financing myths: you don’t need perfect credit or all cash. Always compare APR, fees, draw cadence.
Conclusion
When you rip your home down to the studs, you reset it like you’re rebuilding a small city from scratch. You’ll demo to structure, verify framing, and document any rot, pests, or undersized members. Then you’ll run code-compliant rough-ins—plumbing, electrical, HVAC—schedule required inspections, and correct deficiencies before you close walls. After insulation and drywall, you’ll install finishes, test systems, and complete the punch list so every fixture, seam, and clearance meets spec.